
HOW TO MIX GREENS WITH WATERCOLOR
- Julia Henze

- Jun 17, 2022
- 4 min read
Updated: Apr 7, 2023
Urban sketching scenes are impossible without some greenery, especially in the summer, but getting the green colors right may be a bit tricky. Does lush greenery sometimes look dull and flat in your sketches? Do you often find that the colors turn out a bit unnatural? Have you ever wondered why the lovely greens in your watercolor set never look good in your sketch? Then this post is for you.

Pre-Made Greens vs. Mixed Colors
Which of these trees do you like better? The one on the left is painted using pre-mixed colors, the right one with the colors I mixed myself:


While I have some pre-made greens, I always prefer to mix my own colors for greenery, and I encourage my students to do the same. It can take some time to master the color mixing, but it is definitely worth the effort! It gives you so much flexibility, makes your greenery truly robust, and the transitions between colors really natural. Mixing your own colors not only gives you an incredible range of tones but also allows you to create a beautiful gradient that is impossible with pre-mixed colors. If you only use pre-made greens from tubes/pans, your sketches may lack depth and vibrancy.
Color Chart
It is common knowledge that mixing yellow and blue produces green. But mixing yellow and green does not always get you a beautiful color! There is more than one yellow and more than one blue tone, so is there any way to predict the resulting color? One way to go about it is to learn some color theory (the concept of cool and warm colors), but beginner artists often find it confusing and not very helpful. That's why I recommend trying out different combinations of yellow and blue and creating a color chart.


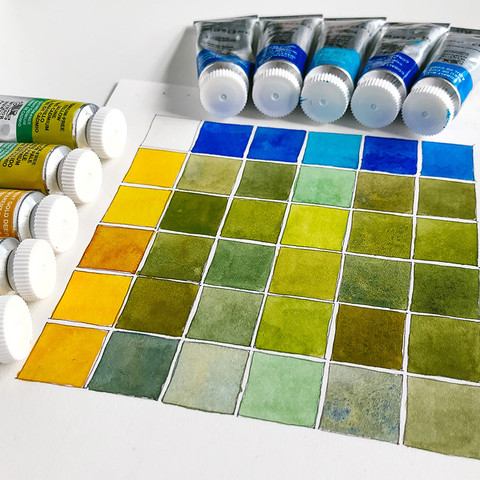
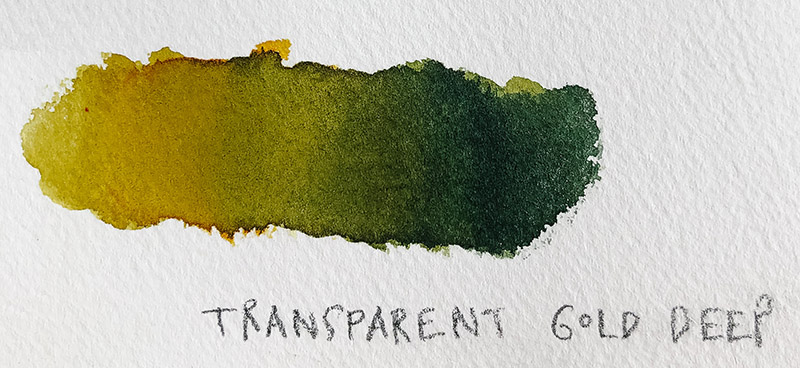
The color chart below shows the yellows and blues I commonly use to make different shades of green. It is a good idea to create a similar chart with the yellows and blues that you have and use it as a reference. Why is it important not to rely on someone else's charts? Even if you use colors with the exact same names, there may be a difference between brands. The pigments can be of different quality, too. The resulting colors may also look different depending on the paper that you use. So I recommend taking your time to experiment with the colors that you have, to play around with them, and not to hurry.

Tip: if you have mixed a pretty color and didn't use it all, do not remove it from your palette! Simply revive it with water next time you need it.

Mixing Colors Step By Step
Here is my step-by-step process for mixing greens.
Step 1. Put some yellow color on the palette, mix the pigment with water, and put it on paper.


Step 2. Add a little blue and a little water to the yellow on the palette. That's your next color. Apply this new color to the painting.


Keep adding the blue color to your palette in steps 3-5, and notice the change in color.
Step 3.


Step 4.


Step 5.


You can also create different shades of green by varying the amount of water you add to your palette. This prevents your sketches from looking flat, too.
Adding Shadows
Putting shadows in the right places is another essential skill for any (urban) sketcher. Here is my process for shadowing.
Imagine where the light source is. If you are a beginner, it is helpful to always put the light source in the top left or right corner of your sketch (and disregard the actual direction that light might be coming from). If we place it on the left, the lightest part of your tree will be the top left. The further you move to the right and down, the darker the color becomes.

Using Pre-Mixed Greens
If you use pre-mixed greens, make sure you add some other color to them to get a broader range. Do not use the green on its own. Add some yellow and red, purple, perylene violet, or blue!
Notice how adding yellow and red makes the sketch more interesting in the photos below.


Photo 1: only pre-made green.
Photo 2: yellow, pre-made green, perylene violet.
Photo 3: yellow, pre-made green, red.
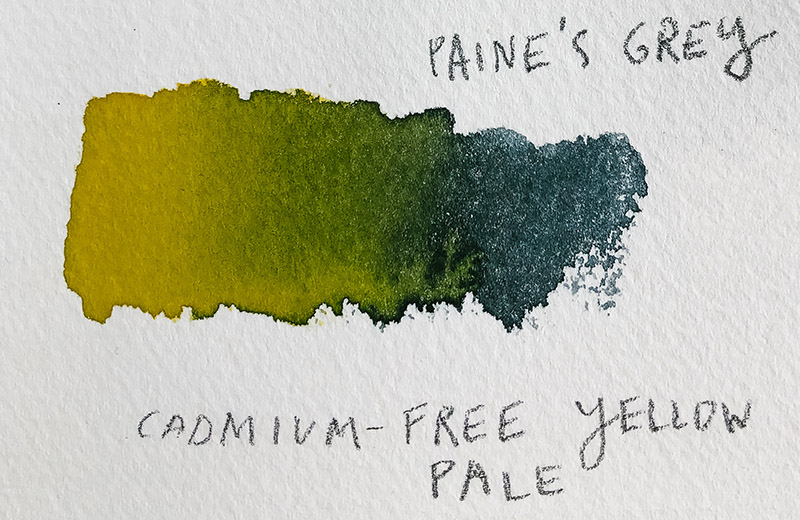
Payne's Grey
Why does this one color deserve a special mention in my post? It is a blue-grey color, dark but not as intense as black. That makes it easier to mix it right (compared to black) when you need a dark shade of green. You can get a very beautiful transition and a magnificent range of colors.


If you want to take your greens to the next level, join Greenery in Urban Sketching class. It is a detailed class with many exercises for shapes, textures, and lines. You will also learn how to draw shadows and how to color your trees so that they look bright but natural.

This class is also available inside Brave Brushes Studio, my membership for artists and urban sketchers. Join Brave Brushes Studio to get access to my archive of classes plus new videos, live sketching workshops and Q&A sessions. We also have a lively community of artists!
Other Resources:

Make your sketches bright by using my little trick. It's unbelievably easy, and your sketches will never look the same!
Like my free content but not interested in becoming a paid customer? Click on the banner below to support me. This will enable me to continue providing free educational resources on my blog, Youtube channel and Instagram.


Love this blog and also all the others! I‘m also busy with your lessons about urban sketching on Skillshare and I learn a lot!